By Chef Ahmad | CookDawn

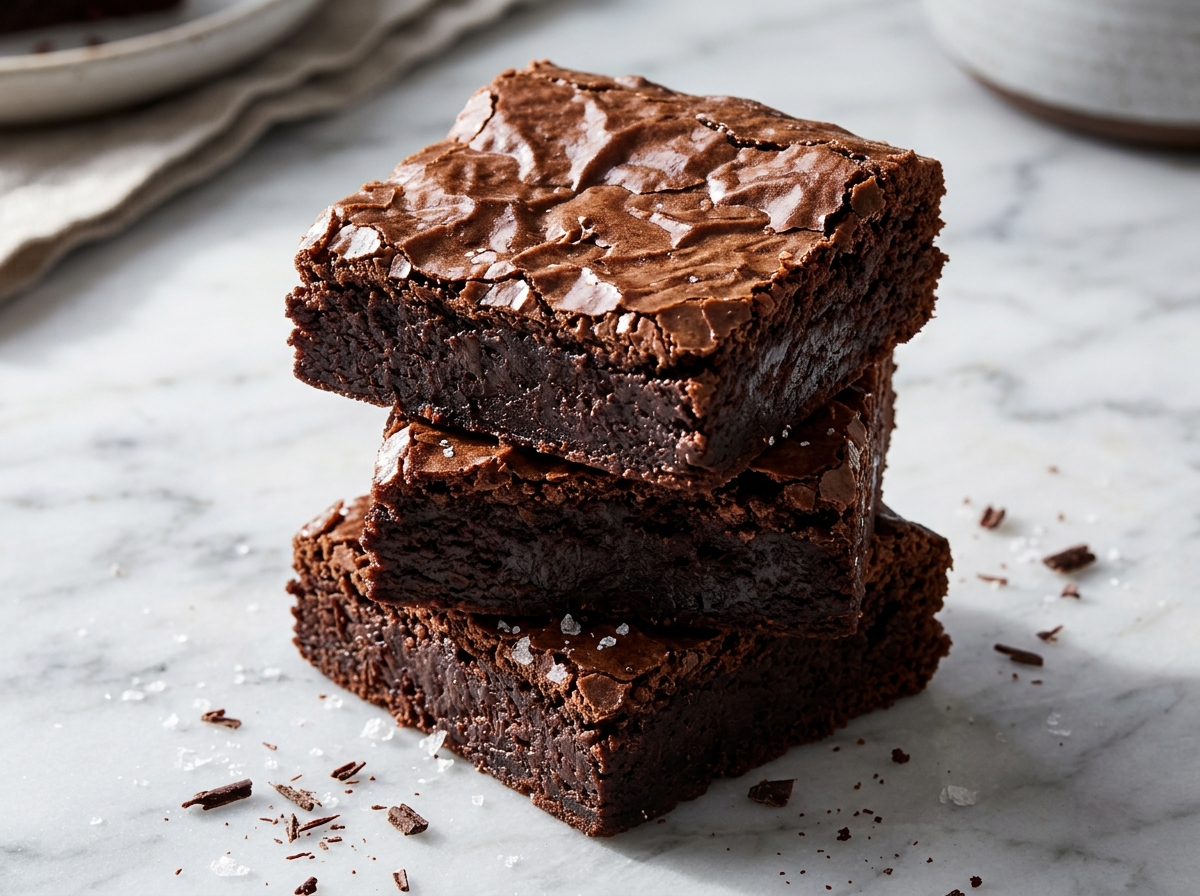
🍫 The Texture Is Decided Before the Oven Even Turns On
There is a precise moment in brownie making when everything is determined.
Not when you pull them from the oven. Not when you cut into them. The moment that decides whether your brownies will be dense, fudgy, and glossy-topped or dry, cakey, and disappointingly bread-like happens in a mixing bowl, somewhere between the eggs, the sugar, and the melted chocolate — before a single gram of flour has entered the equation.
Most home bakers do not know this. They follow a recipe faithfully, measure carefully, bake at the right temperature, and still end up with brownies that are fine but not extraordinary. The top is dull instead of crackled. The interior is soft but not that specific dense, almost molten fudginess that makes you close your eyes when you bite into it. Something is missing, and the recipe never explains what.
What is missing is an understanding of what is actually happening chemically in that bowl — specifically, what happens when dissolved sugar and denatured egg proteins migrate to the surface of the batter during baking and crystallize into that paper-thin, glossy, shattered crust that every serious brownie baker is chasing.
I have baked more than eighty batches of brownies across the past three years, varying fat ratios, sugar types, egg counts, whisking times, and chocolate percentages in controlled sequence. The crinkle top is not magic. It is not luck. It is repeatable, predictable chemistry — and once you understand it, you will never make a dull-topped brownie again.
🧪 The Science Behind Fudgy, Cakey, and That Glossy Crinkle Top
Fat vs. Flour — The Architecture of Texture
Before we discuss the crinkle top, we need to understand what controls the fundamental texture of the brownie beneath it, because the two are connected.
Gluten is the protein network that forms when the proteins glutenin and gliadin in wheat flour hydrate and link together. Gluten development creates structure, chew, and ultimately the cakey, bread-like quality that some brownie recipes produce and most serious brownie eaters want to avoid.
Fat is gluten’s natural inhibitor. Fat molecules coat the flour proteins and physically prevent them from forming the extended gluten networks that create cakey texture. The more fat in your brownie batter relative to flour, the less gluten develops, and the denser, fudgier, more tender the result.
This relationship can be understood through density:
ρ=Vm
Where ρ is density, m is mass, and V is volume. A fudgy brownie has high density — high fat, low flour, no leavening — because there are no air bubbles expanding the volume. Every cubic centimeter of that brownie is packed with fat, sugar, and chocolate solids. A cakey brownie introduces leavening agents (baking powder) which create CO₂ bubbles during baking, increasing the volume V while the mass m stays constant — density drops, texture lightens, and the result moves toward cake.
In simple terms: fudgy brownies are dense because they are designed to be heavy. Cakey brownies are lighter because air has been deliberately introduced into the structure. Neither is wrong — but they require completely different formulas.
The Texture Ratio — Understanding What Each Ingredient Does
| Component | Fudgy Brownie | Cakey Brownie | Effect of Increase |
|---|---|---|---|
| Butter / Fat | High (1 cup+ / 225g+) | Lower (½ cup / 115g) | More fat = less gluten = denser, fudgier |
| All-Purpose Flour | Low (½ cup / 65g) | Higher (¾–1 cup / 95–125g) | More flour = more gluten = more structure |
| Sugar | Very high (2 cups / 400g) | Moderate (1–1.5 cups / 200–300g) | More sugar = more crinkle top potential |
| Eggs | 3 whole + 1 yolk | 2–3 whole eggs only | Extra yolk = more fat = richer, denser |
| Leavening | None | ½ tsp baking powder | Leavening = air = lighter, cakey texture |
| Chocolate type | Melted dark + cocoa | Cocoa powder dominant | Melted chocolate adds fat = fudgier |
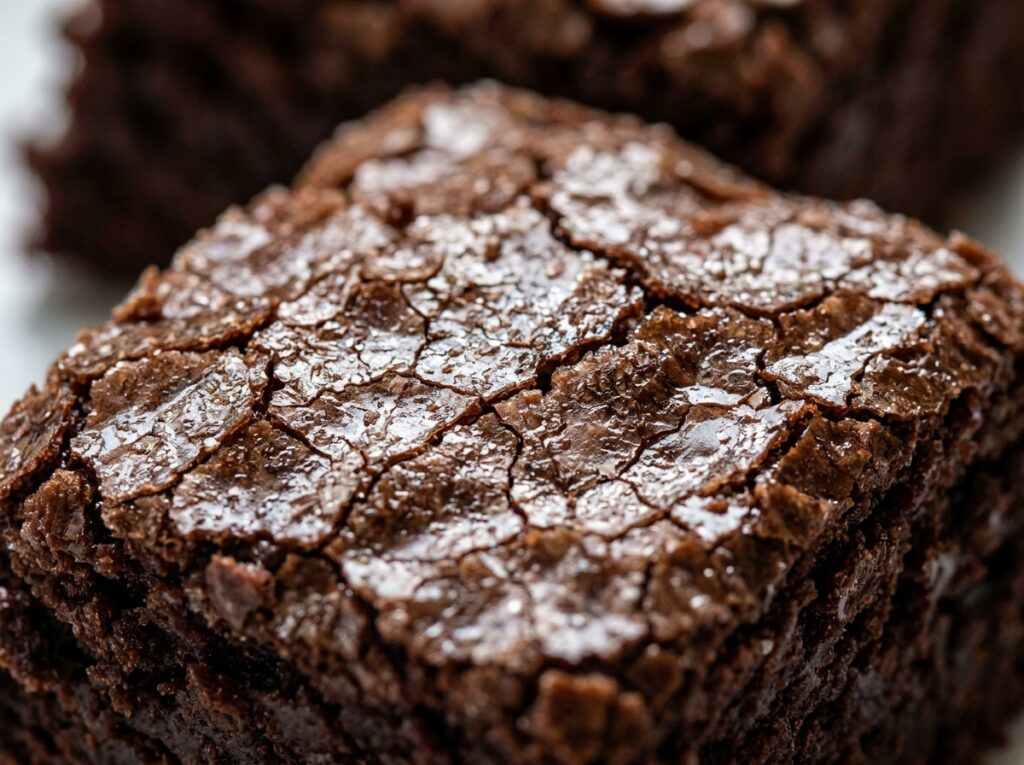
The Crinkle Top — Dissolved Sugar and Protein Migration
This is the part nobody explains properly, and it is the most important science in this entire article.
That thin, papery, glossy, shattered crust on top of a perfect brownie is not produced by the chocolate. It is not produced by the butter. It is produced by a very specific interaction between dissolved sugar and denatured egg proteins — and it only happens when you whisk them together aggressively and long enough.
When you whisk granulated sugar into warm melted butter and chocolate, the sugar begins to dissolve. When you then add eggs and whisk vigorously for 3–5 minutes, two things happen simultaneously. First, the egg proteins begin to partially denature — the heat from the warm chocolate mixture unfolds their structure slightly. Second, the dissolved sugar and loosened egg proteins form a thin, fluid layer that is less dense than the surrounding batter.
During baking, as the batter heats from below, this sugar-protein liquid migrates upward through the batter by convection — it is less dense than the fat-heavy mixture below it, so it rises. It reaches the surface and spreads into a thin, even film. As the oven heat dries this film, the sugar re-crystallizes and the proteins set into a rigid, glossy, paper-thin meringue-like membrane.
When the brownie cools, this membrane contracts slightly and shatters — creating the characteristic crinkle. That crinkle is literally crystallized sugar and set egg protein. It is a partial meringue baked directly onto the brownie surface.
If you do not whisk the eggs and sugar long enough, the sugar does not fully dissolve, the protein layer does not form uniformly, and the surface stays dull and matte. This is the single most common reason home bakers cannot replicate bakery-style crinkle tops.
The whisking step is not about incorporating air. It is about dissolving sugar and initiating protein denaturation. It requires 3–5 full minutes of vigorous whisking and it cannot be rushed.
🛒 Pro Buying Guide — USA Market Picks
The Chocolate: For fudgy brownies, the quality of your chocolate is the single most impactful ingredient decision you will make. Ghirardelli 60% Cacao Bittersweet Chocolate Chips are the most reliable high-quality option at mainstream USA grocery stores — Walmart, Kroger, Target, and Safeway all carry them. Guittard Extra Dark Chocolate Chips (72% cacao, available at Whole Foods and Cost Plus World Market) are what I use for professional-quality results. Valrhona Feves 70% Guanaja (available online and at Williams Sonoma) is the benchmark if budget is no concern.
The Cocoa: Use Dutch-process cocoa for the deepest, darkest, most complex flavor — Rodelle Gourmet Baking Cocoa at Target or King Arthur Bensdorp Dutch-Process Cocoa at King Arthur’s website or Whole Foods. Dutch process has been alkalized, which neutralizes its acidity and produces a smoother, darker chocolate flavor. Do not substitute natural cocoa in this recipe without adjusting leavening — the chemistry is different.
The Butter: Kerrygold Unsalted remains my consistent recommendation for baking — its 84% butterfat content produces a richer result than standard American butter at 80%. Available at Trader Joe’s, Kroger, Target, and Walmart. Always use unsalted so you control the sodium level precisely.
The Sugar: Standard granulated white sugar is what creates the crinkle top — the sucrose molecule is what matters here. Domino Granulated Sugar is the national standard and available everywhere. For a variation with deeper molasses notes, replace 25% of the white sugar with Domino Dark Brown Sugar — this will not eliminate the crinkle top and adds complexity.
The Eggs: Use large eggs at room temperature — cold eggs added to warm chocolate can cause the fat to seize. Vital Farms Pasture-Raised Eggs (at Whole Foods and Target) have a noticeably richer, more golden yolk that adds depth to the final color and flavor. The extra yolk in the fudgy formula matters — yolks contain lecithin, a natural emulsifier, and additional fat, both of which contribute to the dense texture.
The Pan: An 8×8 inch / 20x20cm metal baking pan is mandatory for this recipe. Glass pans conduct heat more slowly and produce a different texture. The USA Pan 8-inch Square Baking Pan ($20 at Williams Sonoma and Amazon) has a light-colored aluminized steel surface that prevents over-browning on the bottom. Dark-colored pans absorb more heat and can produce dry edges before the center sets. Line with parchment paper with overhanging sides for clean removal every time.
📋 Ingredients Table — Master Fudgy Recipe
Core Ingredients
| Ingredient | US Customary | Metric |
|---|---|---|
| Dark chocolate (60–70% cacao), chopped | 6 oz | 170g |
| Unsalted butter (Kerrygold) | ½ cup + 2 tbsp | 140g |
| Granulated white sugar | 1¼ cups | 250g |
| Large eggs | 3 whole | 3 whole |
| Egg yolk | 1 additional | 1 additional |
| Pure vanilla extract | 1½ tsp | 7ml |
| All-purpose flour (King Arthur) | ½ cup | 65g |
| Dutch-process cocoa powder | 2 tbsp | 15g |
| Kosher salt | ¾ tsp | 4.5g |
| Espresso powder (optional) | ½ tsp | 2g |
Cakey Variation — Adjustments Only
| Change | Fudgy Formula | Cakey Adjustment |
|---|---|---|
| Reduce butter to | 140g | 115g |
| Increase flour to | 65g | 100g |
| Change eggs to | 3 whole + 1 yolk | 3 whole only |
| Add leavening | None | ½ tsp baking powder |
| Reduce chocolate to | 170g melted | 85g melted + 30g cocoa powder |
⚠️ Why Your Brownie Top Is Dull — Common Mistakes Table
| The Mistake | What Actually Happens | The Fix |
|---|---|---|
| Under-whisking eggs and sugar | Sugar doesn’t dissolve fully, protein layer doesn’t form uniformly, surface stays matte and dull | Whisk vigorously for a full 3–5 minutes — mixture should be pale, thick, and ribbon-like |
| Adding cold eggs to hot chocolate | Eggs begin to cook unevenly, proteins scramble before forming proper emulsion | Cool chocolate mixture to 110°F / 43°C before adding eggs, or use room temperature eggs |
| Over-mixing after adding flour | Gluten develops aggressively, structure becomes cakey and tough | Fold flour in with a spatula using minimum strokes — 15–20 folds maximum, stop when just combined |
| Using a glass baking dish | Slower heat conduction, edges over-bake before center sets, uneven texture throughout | Always use a light-colored metal pan — USA Pan or similar aluminized steel |
| Overbaking by even 2–3 minutes | Fudgy center firms completely, moisture evaporates, dry crumbly texture | Pull from oven when center still has a slight jiggle — residual heat continues cooking |
| Cutting before fully cooled | Interior structure hasn’t set, fudgy center collapses and smears, crinkle top shatters messily | Cool completely in pan — minimum 2 hours, overnight is better |
| Using natural cocoa instead of Dutch-process | Higher acidity reacts with recipe chemistry, lighter color, thinner flavor, may affect set | Use Dutch-process specifically — if using natural cocoa, add ¼ tsp baking soda to neutralize |
👨🍳 Step-by-Step Method
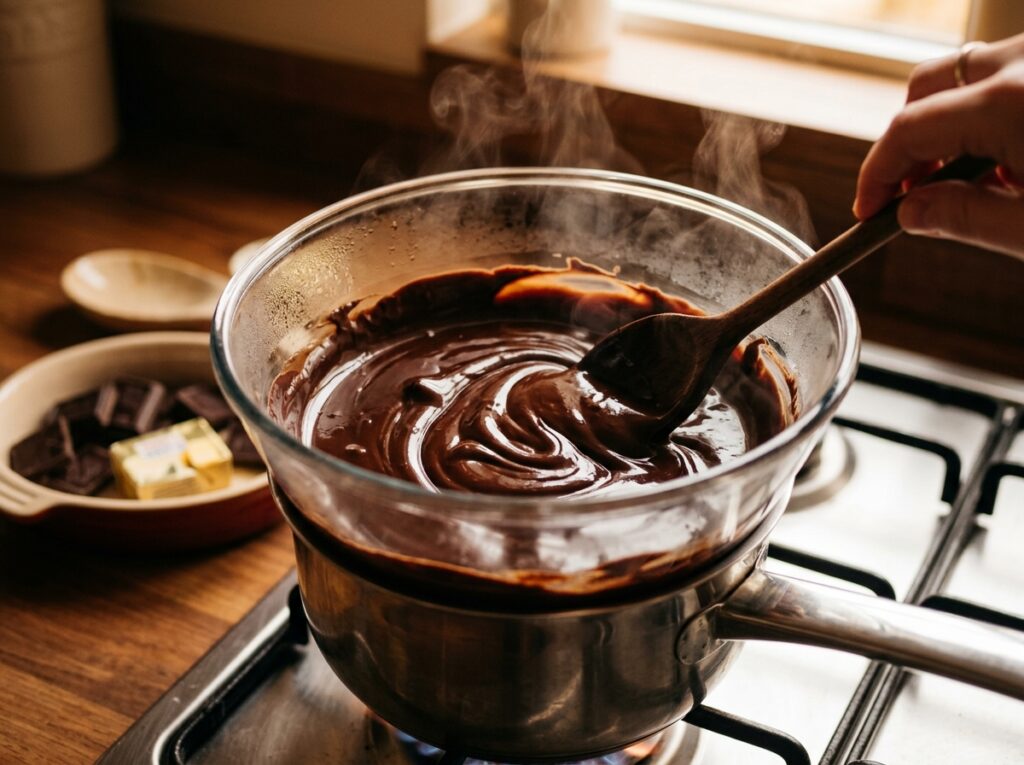
Step 1 — The Chocolate and Butter Melt
Preheat your oven to 325°F / 163°C. Line your 8×8 inch / 20x20cm metal baking pan with parchment paper, leaving a 2-inch overhang on two sides for easy removal. Lightly butter the exposed sides.
Combine the chopped dark chocolate and butter in a heatproof bowl. Melt using a double boiler over barely simmering water, stirring gently until completely smooth. Alternatively, microwave in 30-second bursts at 50% power, stirring between each interval. Add the espresso powder if using — it will not make the brownies taste like coffee, but it deepens and amplifies the chocolate flavor significantly.
Remove from heat and allow the mixture to cool until it reaches approximately 110°F / 43°C. This temperature is warm enough to help dissolve the sugar in the next step, but cool enough that it will not cook the eggs when they are added.
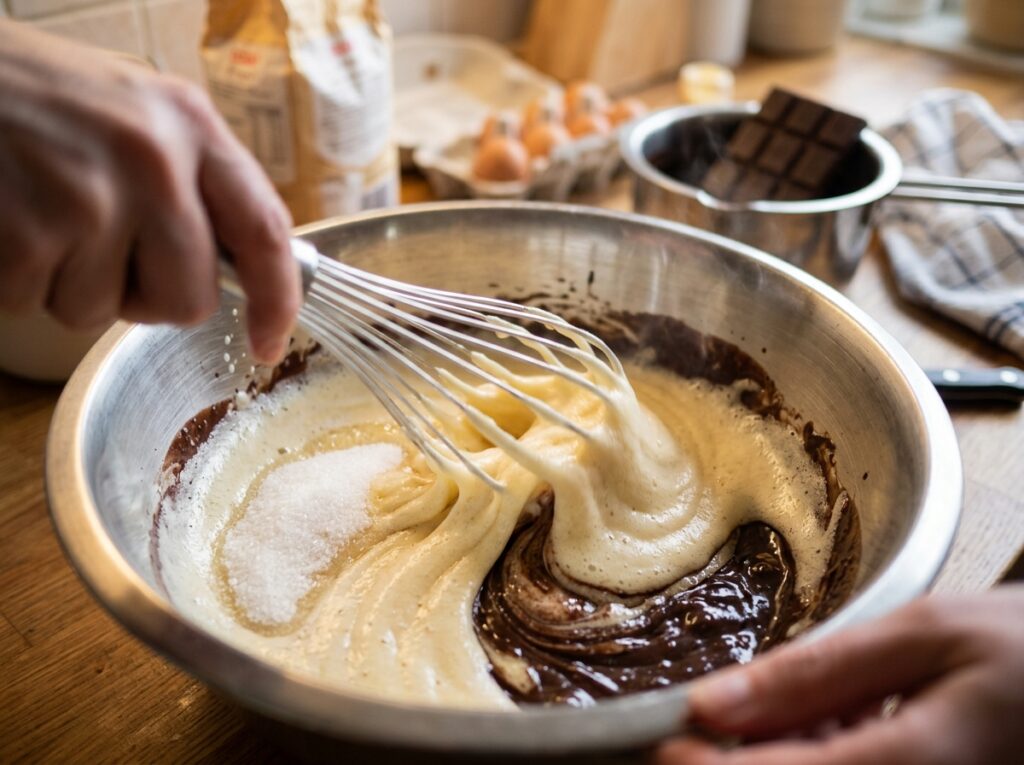
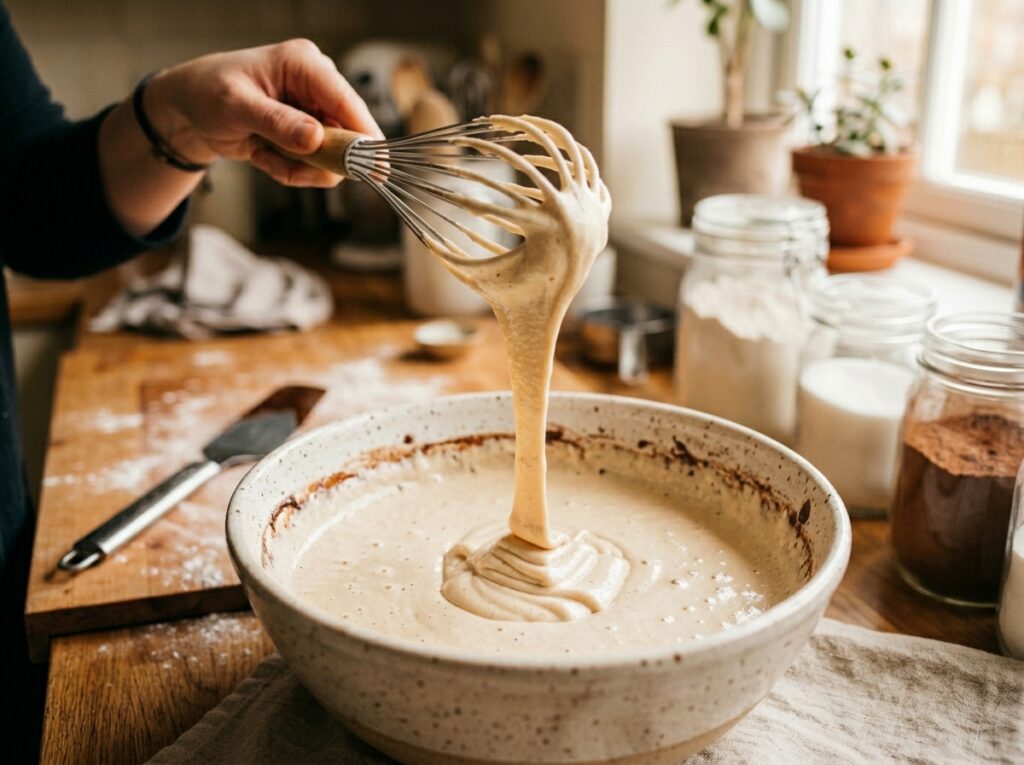
Step 2 — The Whisking Phase (This Is Where the Crinkle Top Is Built)
Add the granulated sugar to the warm chocolate-butter mixture and whisk vigorously to combine. Now add all three whole eggs and the additional egg yolk, along with the vanilla extract.
Here is where the critical step happens. Whisk continuously and vigorously for a full 3–5 minutes. You can use a hand whisk or a hand mixer on medium speed. Watch the mixture transform — it will go from dark, glossy, and fluid to noticeably thicker, slightly paler, and when you lift the whisk, the mixture will fall back in a thick ribbon that sits on the surface for a moment before dissolving back in.
That ribbon stage is your visual confirmation that the sugar has sufficiently dissolved and the egg proteins have begun to denature into the surface-migrating layer that will become your crinkle top. Do not stop before you reach it. This step cannot be shortened.
Step 3 — The Flour Fold
Sift the all-purpose flour, Dutch-process cocoa, and salt together directly over the chocolate mixture. Using a wide rubber spatula, fold with deliberate, slow strokes — scraping from the bottom of the bowl and folding over the top. Count your folds. You want between 15 and 20 strokes maximum. Stop the moment you can no longer see dry flour streaks.
Over-folding is the fastest way to build unwanted gluten structure. The batter will look slightly under-mixed — that is correct. Small traces of flour at the very end of your last fold are acceptable and will hydrate fully during the rest period.
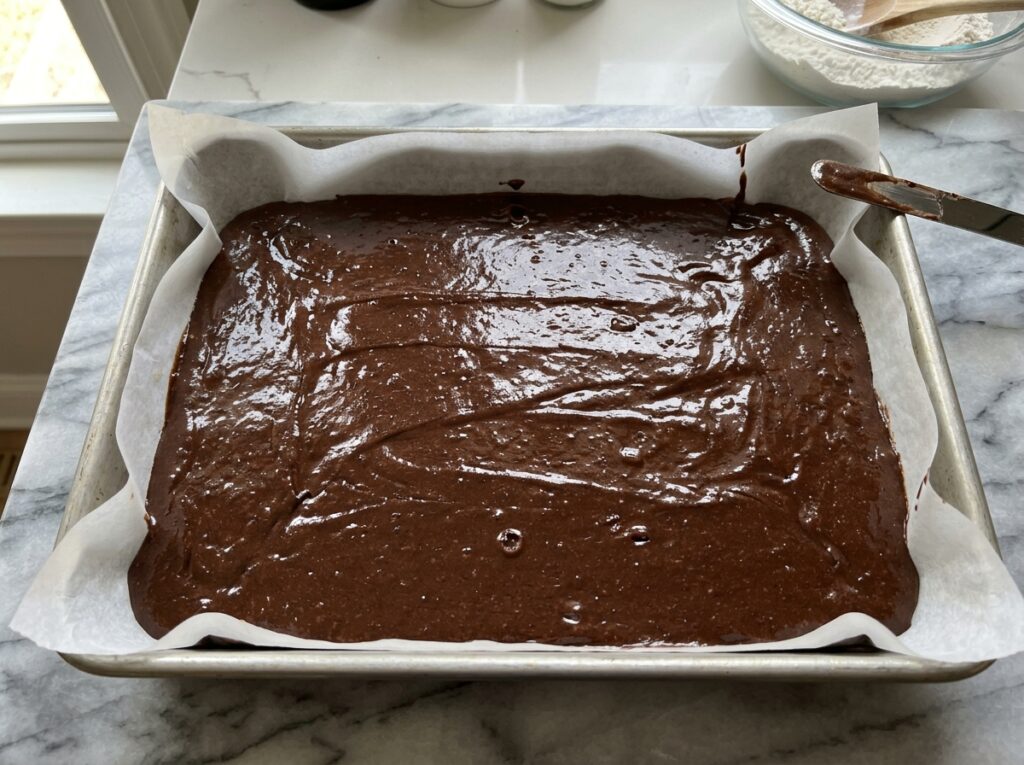
Step 4 — Rest the Batter
Pour the batter into your prepared pan and spread it evenly with the spatula. Now let it rest at room temperature for 10 minutes before baking. This short rest allows the flour to fully hydrate and gives the sugar-protein layer an opportunity to settle at the surface. Some bakers skip this step. I have tested it both ways across multiple batches — the rested batter consistently produces a more defined, more pronounced crinkle top. Ten minutes is a small investment.
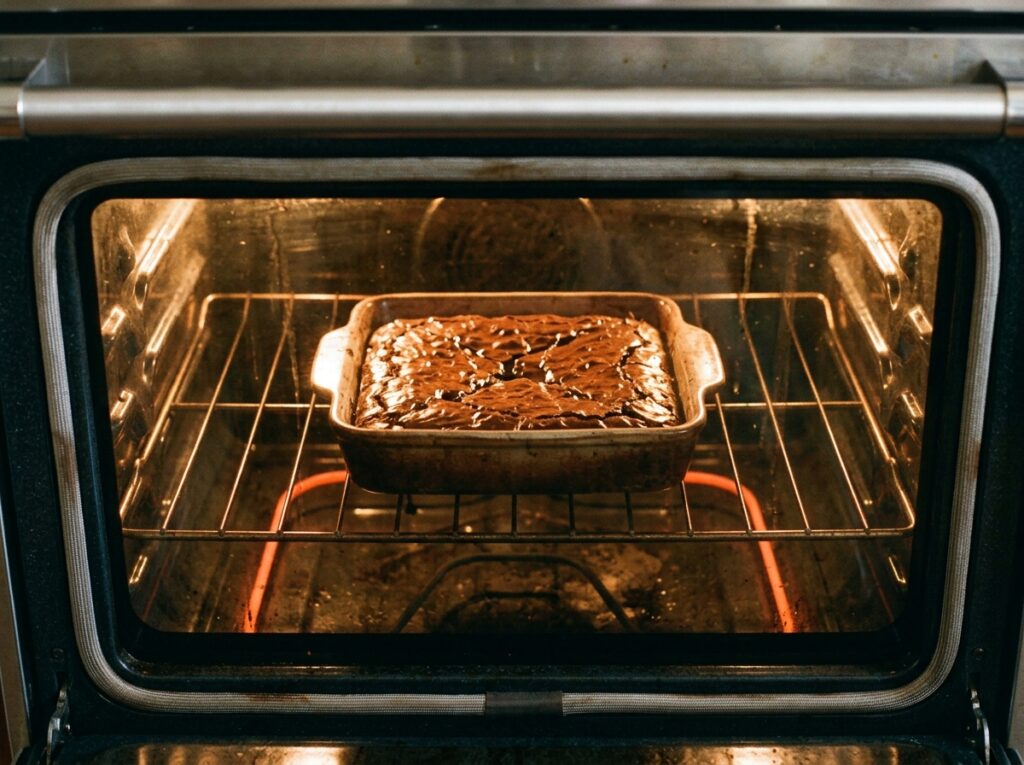
Step 5 — Bake With Precision
Place the pan on the center rack of your preheated 325°F / 163°C oven. Bake for 28–32 minutes. The lower temperature than most recipes call for is deliberate — it gives the interior more time to set as a fudgy cohesive mass rather than firming up quickly from the outside in.
At 28 minutes, perform the jiggle test: grip the sides of the pan with oven mitts and give it a gentle horizontal shake. The very center — roughly a 2-inch / 5cm circle — should have a slight, cohesive jiggle, like a just-set cheesecake. The edges should be fully set. If the jiggle extends beyond the center third of the pan, give it 2 more minutes and test again.
The crinkle top should be fully formed, glossy, and showing hairline cracks across the surface. If the surface is still glossy and smooth without cracks, the brownies need 2–3 more minutes.
💬 Chef Ahmad’s Insight
I have cooked across nearly every category of food over my career, and nothing comes closer to what I would call alchemy than the brownie. You combine fat, sugar, eggs, and chocolate — ingredients that each exist independently and quietly — and somewhere in that oven, something emerges that is categorically different from any of its parts. The crinkle top, in particular, has always felt like the brownie’s signature — its way of showing you that it worked, that the chemistry completed itself, that the sugar found its way to the surface and crystallized into something beautiful. When I see that papery, shattered crust on a brownie fresh from the pan, I do not think about ratios or temperatures or protein denaturation. I think about how strange and wonderful it is that chocolate and science make something that feels, in every way, like comfort.
The brownie is where chemistry stops being clinical and starts being kind.
— Chef Hamid | The Flavor Bazaar
🥗 Nutrition Table
Per serving (1 square, recipe cut into 16 equal pieces). Values are estimates.
| Nutrient | Per Serving |
|---|---|
| Calories | 218 kcal |
| Protein | 3g |
| Total Fat | 13g |
| Saturated Fat | 8g |
| Carbohydrates | 26g |
| Sugar | 21g |
| Dietary Fiber | 1.5g |
| Sodium | 95mg |
| Cholesterol | 68mg |
| Iron | 1.8mg (10% DV) |
Values are estimates based on specified ingredients. Actual values vary by chocolate cacao percentage and precise measurements.
🧊 Storage & Reheating — Maintaining the Fudge Texture
| State | Room Temperature | Refrigerator | Freezer | Notes |
|---|---|---|---|---|
| Cut brownies (unglazed) | 4 days, airtight container | 1 week, airtight | Up to 3 months, individually wrapped | Layer with parchment between pieces — never stack directly |
| Whole uncut slab | 5 days, wrapped tightly | 10 days, wrapped | Up to 3 months, wrapped in plastic then foil | Cut only what you will eat — uncut brownies stay fresher longer |
| From frozen | N/A | Thaw overnight | — | Thaw at room temperature 2 hours for best texture restoration |
| Reheating single square | 10 sec microwave | 15–20 sec microwave | Thaw first, then 10 sec | Serve slightly warm — fudgy texture becomes more pronounced at 85°F / 29°C |
❓ FAQ
Why do some recipes use oil instead of butter — does it affect the crinkle top?
Oil produces an even fudgier, denser brownie than butter because it is 100% fat with zero water content. Butter is approximately 16–18% water, which contributes some steam during baking and slightly lightens the texture. The trade-off is flavor — butter contributes milk solids and diacetyl compounds that add richness and complexity. Oil brownies are fudgier but flatter in flavor. For the crinkle top specifically, butter performs slightly better because its water content contributes to the sugar-protein surface layer migration. If you use oil, reduce the quantity by approximately 15% compared to butter weight.
Can I use chocolate chips instead of bar chocolate?
You can, but with a trade-off. Most chocolate chips — including many premium brands — contain added stabilizers designed to help them hold their shape during baking. These stabilizers can slightly inhibit the smooth melting and fat distribution you need for a fudgy brownie. Bar chocolate melts cleaner and distributes more evenly through the batter. Guittard and Valrhona both make professional-grade wafers specifically for melting — these are my preference. If using chips, chop them roughly before melting to help them break down more completely.
My brownies are gooey in the very center even after cooling — did I underbake?
Possibly, but slightly underbaked fudgy brownies are still excellent if the gooeyness is cohesive rather than liquid. Refrigerate for 1–2 hours and test again — the center will firm considerably. If it remains genuinely liquid after refrigeration, they needed 3–4 more minutes in the oven. Every oven runs slightly differently — get an oven thermometer (the Taylor Precision Products model at Walmart for $12 is reliable) and verify your actual oven temperature against the dial.
Can I add mix-ins like walnuts or chocolate chips without affecting the crinkle top?
Mix-ins folded into the batter do not affect the crinkle top significantly — they are heavy enough to sink below the surface layer during baking. Fold them in gently with your last 3–4 flour folds, using the same minimum-stroke technique. Walnuts, pecans, or extra dark chocolate chunks all work well. Avoid any mix-in that introduces significant additional moisture — fresh fruit, for example, will release liquid and destabilize the batter chemistry.
Does the type of sugar matter? Can I use coconut sugar or a sugar substitute?
For the crinkle top specifically, standard granulated sucrose is what matters. The crinkle top mechanism depends on sucrose dissolving into a fluid layer that migrates to the surface and re-crystallizes. Coconut sugar has a different crystalline structure and higher moisture content — it produces a less defined, slightly grainy crinkle if it forms at all. Sugar substitutes like erythritol or monk fruit sweetener do not behave like sucrose under heat and the crinkle top will not form reliably. If you need a lower-glycemic option, use a blend of no more than 50% coconut sugar to 50% granulated white sugar and accept a slightly less defined surface result.
Leave a Reply